Google’s latest update to its Android operating system delivers a ton of new features. Here are the tips and tricks you need to know about.
Google recently released Android 5.0 Lollipop, the largest Android update to date. The updated version of the popular mobile operating system is slowly making its way to older devices. Here are the new features in Android 5.0 Lollipop that you need to know about.
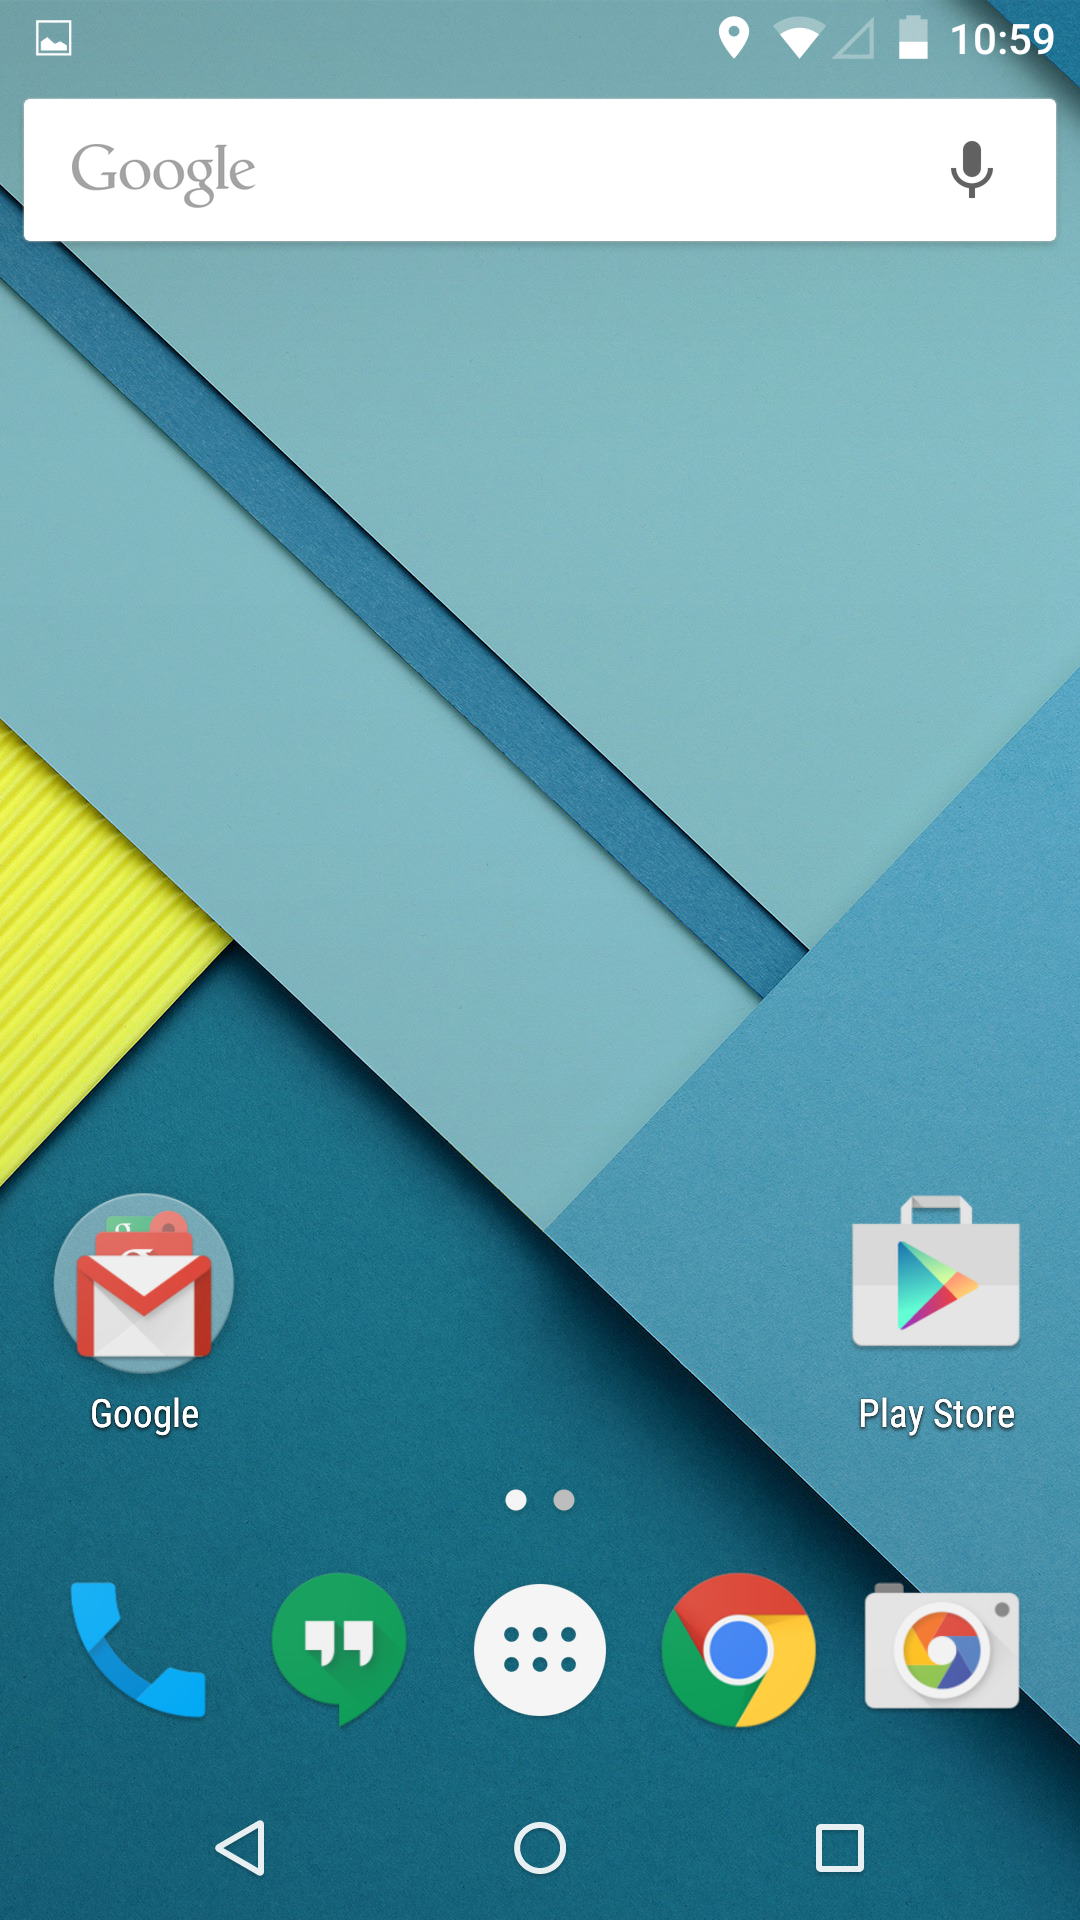
The new Material Design
The first thing you will notice after updating to Android 5.0 Lollipop is the redesigned interface. Google’s “Material Design” brings a cleaner, lighter look to the operating system.

materialistic design
A new lock screen
Notifications are now displayed directly on your device’s lock screen.
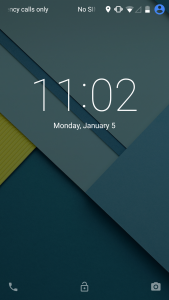
lock screen
Hide sensitive content in notifications
Not a fan of having everything front and center? Notifications can be disabled or set to hide sensitive content.
Get longer battery life with battery-saver mode
A new feature in Android 5.0 Lollipop promises to squeeze 90 extra minutes of juice out of the battery in your device.
To enable the new battery-saver feature, enter Settings, click on Battery, tap the Menu button (that three vertical dot icon in the top right corner) and select Battery saver.
Hang a Do Not Disturb sign
The first time you change the alert volume on your device you will notice few new options just below the volume slider. These are part of a new featured called Priority mode.
Selecting “None” will disable all notifications, even your alarm clock. While “Priority” mode will show only notifications you have approved. Head to Settings, click Sound & Notifications and select Interruptions to approve select notifications.
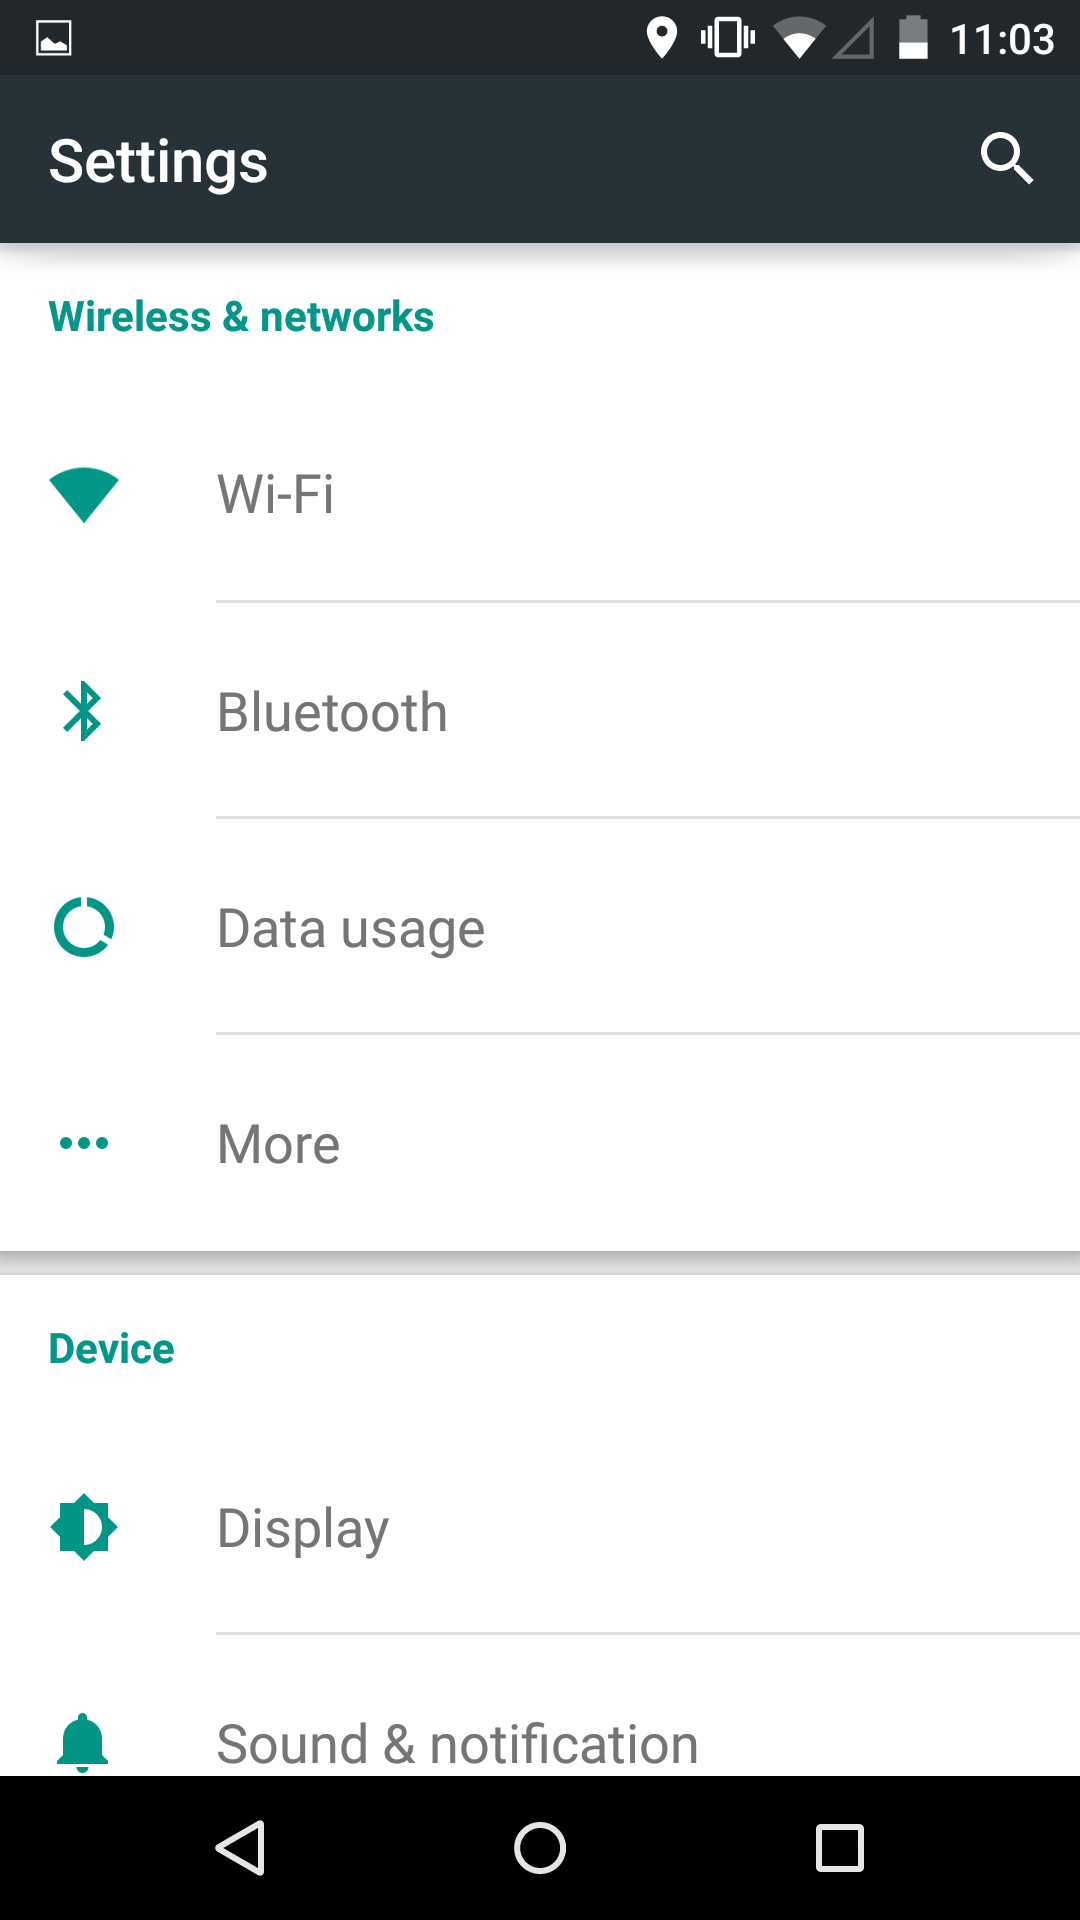
You can now search Settings
Can’t find what you want in the Settings menu? Android 5.0 Lollipop now includes a search option specifically for settings.
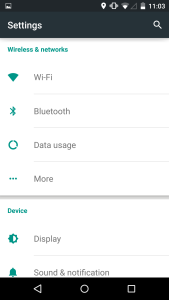
search settings
Add Trusted Devices
You can set a Bluetooth or NFC tag as a “Trusted Device.” When the device is in range of your phone, the security passcode or pattern won’t be required to unlock it. To set this feature up, head to Settings, select Security, followed by Smart Lockand Trusted Devices.
Note that the Smart Lock option will only be available if a security lock, such as a pattern or a passcode, is enabled on your device.
Use guest mode with friends
Share your phone with friends or family members? You can now create multiple user profiles to keep your personal apps, contacts and photos separate from theirs. There is also a guest mode for temporary users. New modes can be accessed and created by pulling down the Notification menu and tapping the person icon in the top right corner of the screen.
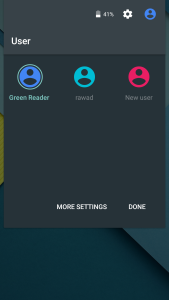
multiple users
Keep apps Pinned
There are other options if you don’t want to enter guest mode every time you let someone play a game or use the dialer app. A new feature in Android 5.0 Lollipop lets you pin a specific app to the home screen.
The feature isn’t enabled by default, but you can turn it on by going to Settings, clicking on Security, selecting Screen pinning and tapping the On button.
To pin an app, tap on the overview button (it’s the square button along the bottom of your screen) and bring the app you want to pin to the front of the screen. At the bottom-right corner of the app overview will be a blue pin button. Tap on it and confirm the action. To unpin the app, press and hold the back button and overview button at the same time.
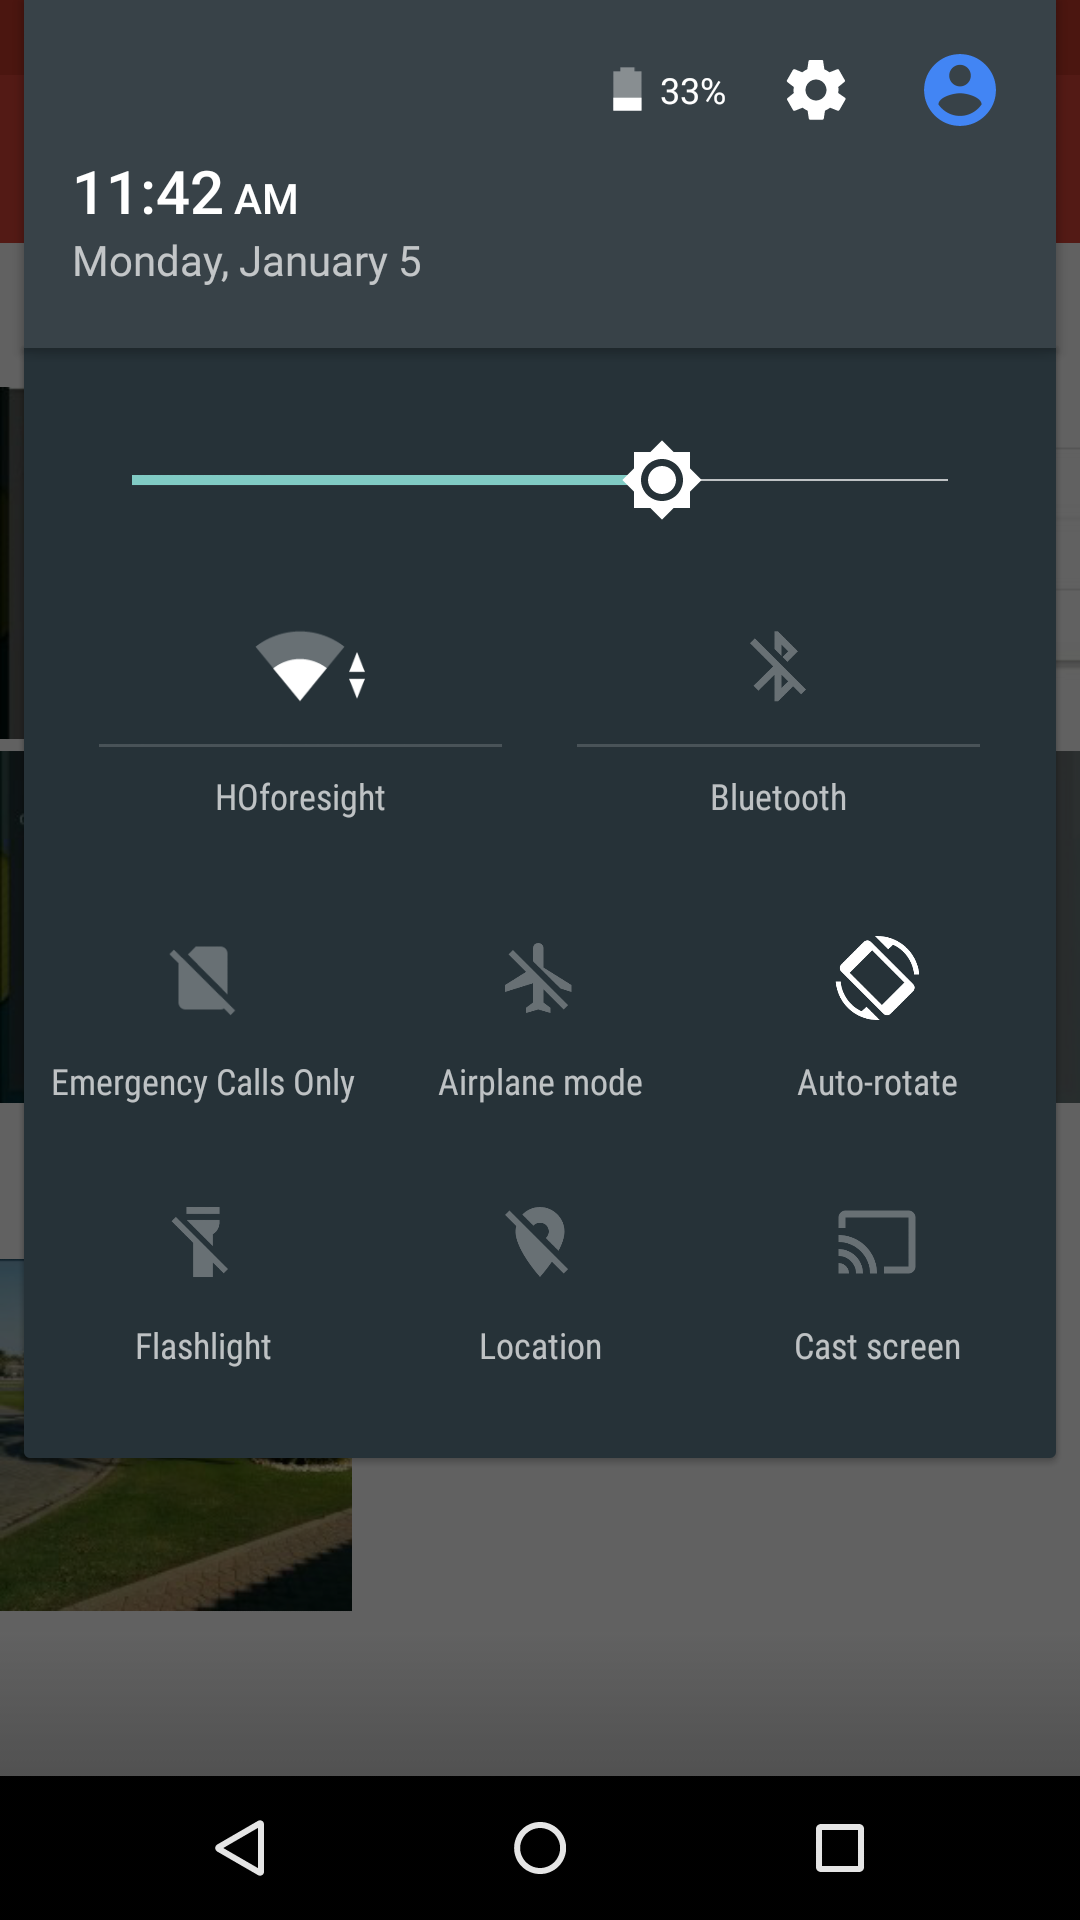
Access the improved Quick Settings
The Quick Settings menu in Android 5.0 Lollipop has been improved. There is now a slider so you can quickly adjust the brightness, an rotation lock option and a built-in flashlight, among other features.
You will see your alerts when pulling down the notification menu with a single finger. In order to reveal the Quick Settings menu from here, simply swipe down again with a single finger.
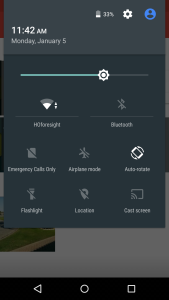
quick settings
Quickly check your data usage
One of the new features in the Quick Settings menu lets you quickly check your data usage. Simply pull down the menu and tap the network icon. It’s as easy as that.
Adaptive brightness replaces auto brightness
Previous versions of Android included an automatic brightness feature, which would automatically adjust your brightness depending on your environment.
The feature has now been replaced with an “Adaptive brightness” mode. This is similar to the auto-mode, but you still have the ability to choose your own brightness. Once you have set a base brightness, the adaptive mode will then adjust it based on your surroundings.
Improved performance
One feature you won’t see on the surface of the Android 5.0 update is the move to the new Android Runtime, known as ART.
In short, the new runtime improves the performance of your device and helps optimize battery life.
High contrast text makes it easier to read
A new (and experimental) feature in Android 5.0 aims to make text easier to read. A high-contrast text mode can be enabled by going to Settings and clicking on Accessibility.
You can invert colors
You will also find an option to Invert Colors in the Accessibility settings. While it’s not for everyone, this option can also make it easier to read text at night.
Apps will remain in Overview after a restart
Did you know that apps in the Overview menu will stay in there even after you power down or restart your phone? It’s true, and it makes it easier to get back to the apps you were using.
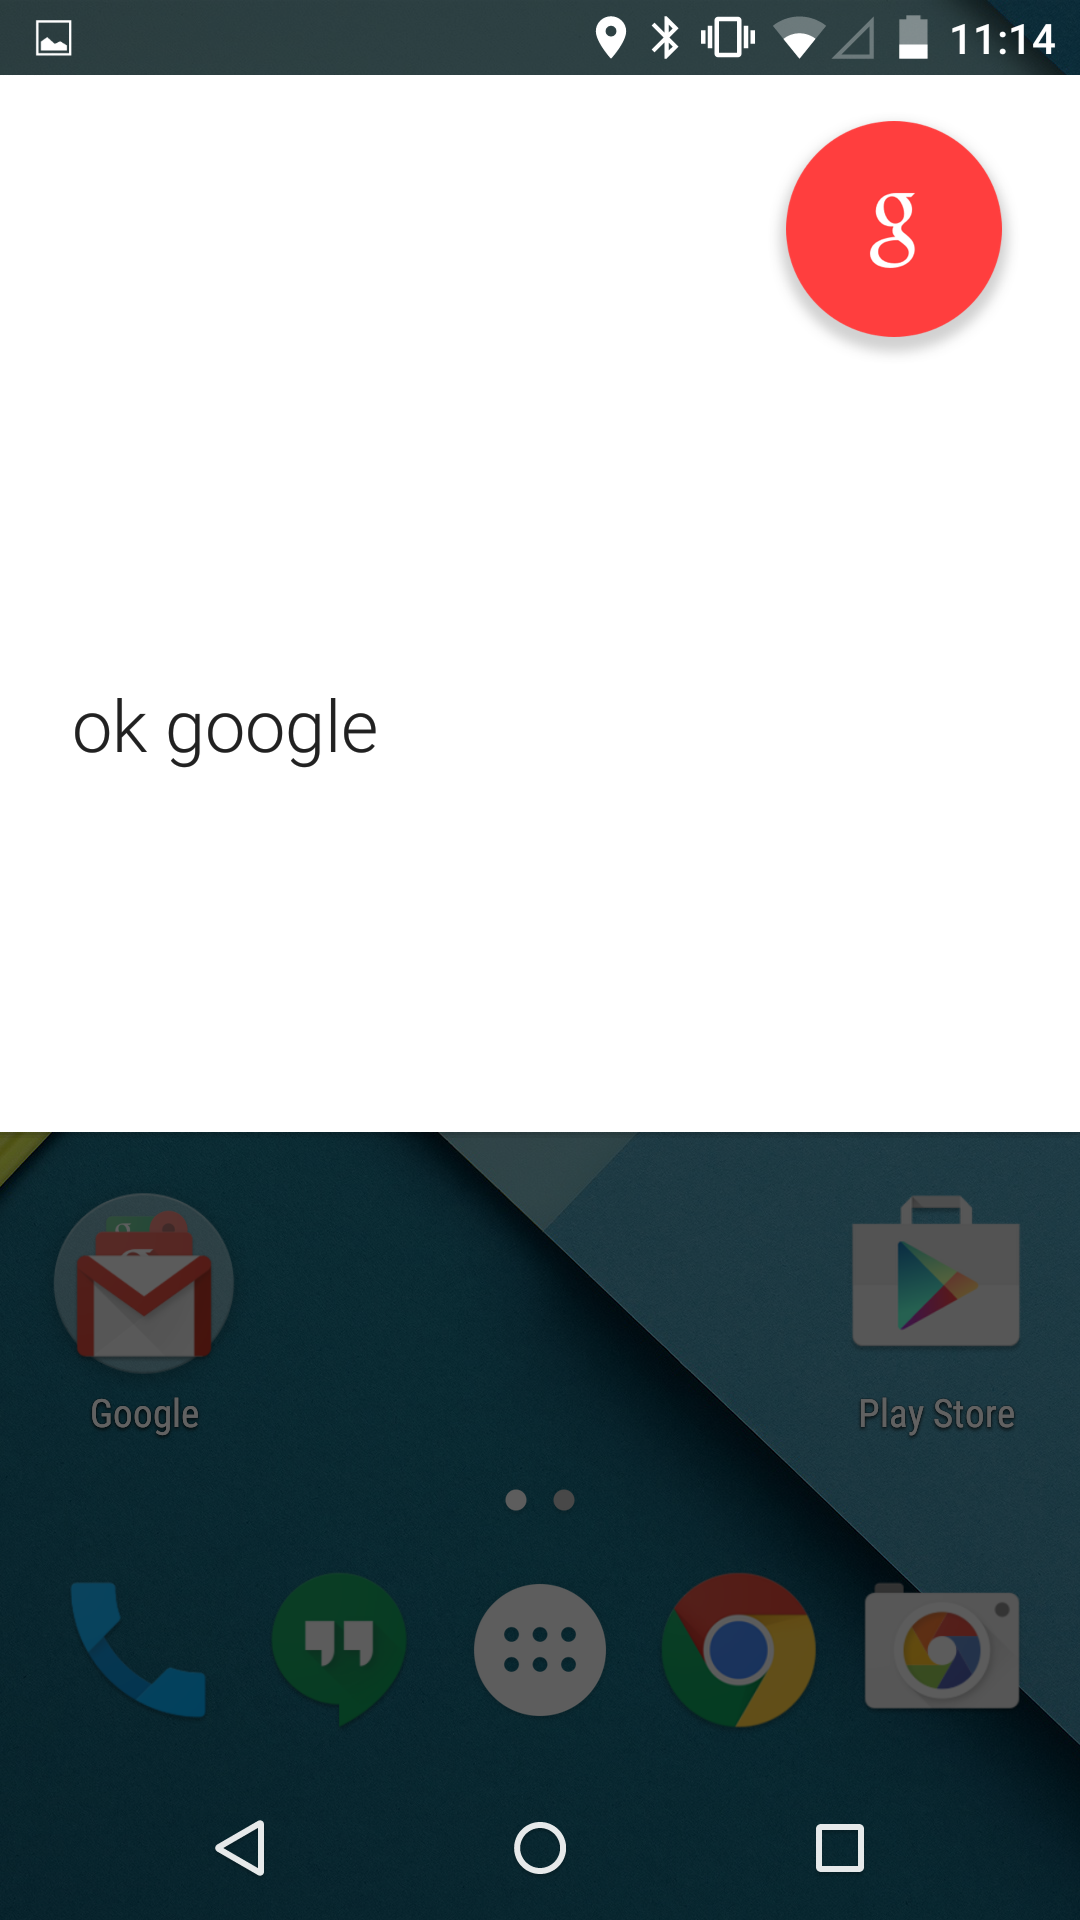
Use ‘OK, Google’ everywhere
While you still can’t use the “OK, Google” command when the display is off (unless you own a Nexus 6, Moto X or Nexus 9), you can now use it inside of most apps on Android 5.0.
This can be enabled by going to Settings, clicking on Language & Input, followed by Voice input. Then, tap the Gear icon, click on “OK, Google” Detection and enable Google Now from any screen. You will have to train the feature by saying “OK, Google” three times, but once it’s complete you can then use the command from inside of most apps and on any screen.
After you plug your phone in, it will give you an estimate on how long it will take the battery to be fully charged.

google now
More uses for NFC
The Android Beam sharing feature that was first introduced with Android 4.0 Ice Cream Sandwich has been improved with the release of Lollipop. Users could previously only share Web links, contact info, directions and YouTube videos, but now you can share anything with just a tap.
Simply select what you would like to share, place two Android phones with NFC back-to-back, and either tap the screen or choose Android Beam from the sharing menu.
Don’t let notifications interrupt your games
One of my favorite features in Android 5.0 is the new notification system. Notifications will no longer interrupt you when playing a game or watching a movie. Text messages, phone calls and other notifications will now briefly appear at the top of the screen. You can choose to act on the notification or simply swipe it away.
Check your battery stats
In addition to battery improvements, Android 5.0 gives you more information on your battery life. Going to Settings and selecting Battery will give you an estimated time of how much longer your battery will last.
Access Google’s Flappy Bird clone
The mobile game Flappy Bird took the world by storm in 2014. After reaching the top of the charts, the game was suddenly removed by its creator from the Google Play Store. As a homage to the game, Google added a Flappy Bird-inspired Android version as an Easter egg in Lollipop.
To access it, head to Settings, click on About Phone and tap “Android version” repeatedly. A lollipop will appear on your screen, a single tap will change the color of the tasty treat, while a long-press will open the game.
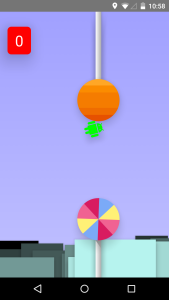
flappy bird clone in lollypop